Pitch a tent on sloped terrain is a skill every trekker and camper should master: in mountainous or wooded areas, flat ground isn’t always available. This guide explains how to choose the right spot, adapt your tent setup, and use simple hacks to ensure stability, comfort and safety when camping on an incline.
Why you may need to pitch on a slope
Whether you’re on a multi-day trek, escaping crowded campsites, or making use of limited space on a ridge, you will sometimes face a slope. Understanding how to handle these situations reduces the risk of gear sliding, poor sleep posture, water pooling, and structural failure in wind.
Before you pitch: site selection and safety checks
Good preparation starts with assessing the location. Use the checklist below every time you find a sloped spot:
- Gradient: Aim for the gentlest slope possible. Slopes under 10–15° are far easier to manage than steep inclines.
- Water flow: Avoid gullies, drainage channels or spots below steep banks where runoff can gather during rain.
- Rockfall and trees: Check above for loose rocks, unstable trees or dead branches (widowmakers).
- Surface: Prefer firm, rooty soil over loose scree or dense leaf litter that will compress or slide.
- Wind exposure: Use terrain features as natural windbreaks when possible.
Core principles for pitching on slopes
Keep these principles front-of-mind while you prepare and set up:
- Stability first: Prioritize a stable anchor setup over exact tent orientation.
- Comfort second: Leveling your sleeping platform will dramatically improve sleep and reduce gear movement.
- Drainage third: Ensure water will run away from the tent, not under or into it.
Step-by-step setup techniques
Below are practical methods to pitch a tent on uneven or sloped ground. Use a combination depending on conditions and equipment.
1. Choose the best micro-site
Even on a slope you can often find small flat terraces or spots with roots and rocks that create a more level surface. Clear the area of sharp objects and test for firmness by stomping—if the ground gives too much, relocate.
2. Orient your tent smartly
When possible, position the tent so the head is uphill and feet downhill. Sleeping with your head uphill reduces the sensation of sliding and helps with digestion and breathing in cold conditions. For multi-person tents, consider angling the tent so the sleeping platform sits as level as possible within the footprint.
3. Create a level sleeping platform
Small leveling techniques can make a big difference:
- Use natural features: Place your sleeping pad under your lower hip or shoulder on the downhill side to compensate. Adjust pad position until you feel level.
- Build a soil terrace: If permitted by Leave No Trace and the campsite rules, use a trowel to move small amounts of soil uphill to flatten a sleeping area. Do this sparingly and restore the site when leaving.
- Use gear as shims: Put packs, clothing or spare gear under pads or sleeping bags on the low side to level your torso and hips.
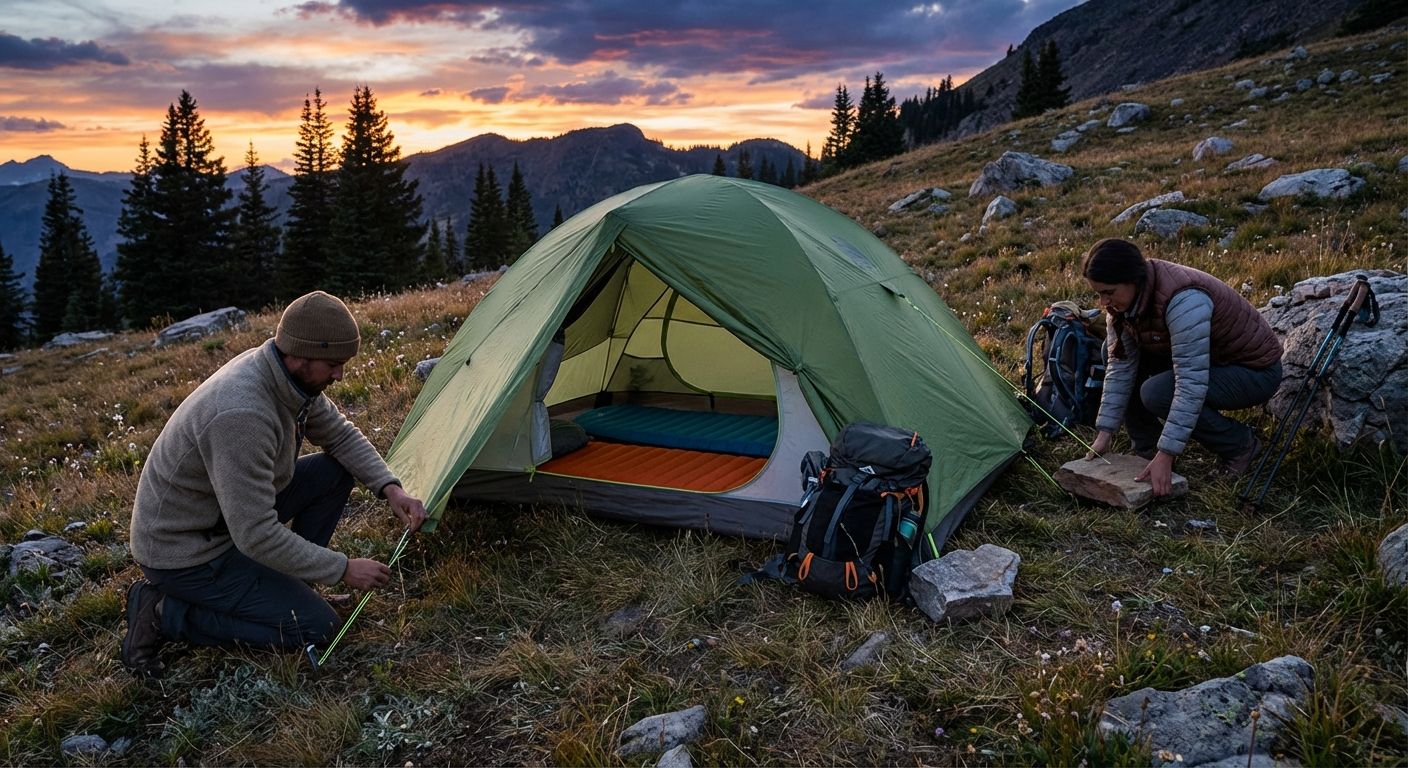
4. Anchor and tension for stability
Anchoring is crucial on slopes, especially with wind. Follow these steps:
- Stake the downhill side thoroughly: Higher stake tension on the downhill side prevents the tent slipping downhill.
- Use longer guy lines and angle stakes outwards: More tension points spread the load and resist sliding. Place stakes so they pull parallel to the slope rather than straight into the ground.
- Employ deadman anchors if stakes won’t hold: Bury rocks, sticks or snow-filled stuff sacks horizontally to create secure anchors in loose soil or sand.
- Bring rocks into play: Use heavy rocks on guy lines or over stakes in poor soil. Wrap lines around boulders for fixed anchors.
5. Modify tent layout and vestibules
On a slope, vestibules and doors can be angled to reduce water pooling. Keep doorways downhill if you anticipate rain runoff, but ensure you can still enter/exit safely without your gear sliding out.
Tips by tent type
Freestanding tents
Freestanding tents are easier to move and rotate to find the most level internal floor space. However, they still need proper staking and guying on slopes to resist sliding and wind uplift.
Non-freestanding tents
These rely on tension and stakes—on sloped or loose ground, reinforce with additional anchors and consider deadman techniques.
Bivy or single-wall tents
Minimalist shelters benefit from lighter footprints but can be less stable. Prioritize anchor points and use your pack to stabilize one side if needed.
Common mistakes and how to avoid them
- Not checking for runoff: Always follow the path water would take—never camp under a slope where water will collect.
- Under-anchoring: Assume a stake equals safety. Increase anchors and check their set after a few minutes.
- Poor sleep orientation: Sleeping perpendicular to the slope without leveling your hips will cause discomfort and sliding.
- Ignoring weather forecasts: Gusty winds on a slope are more dangerous; plan to reinforce your tent with extra anchor lines and set it up close to the ground so it catches less wind.
Gear recommendations and quick kit
Pack these items when you expect to camp on uneven or sloped terrain:
- Sturdy, long stakes: Y-stakes or screw-in stakes perform better in loose soils.
- Extra guy lines and cordage: Useful for creating additional anchors or deadman systems.
- Small trowel: For minimal terrace shaping and digging deadman anchors.
- Rope or webbing slings: To wrap around trees or rocks when needed.
- Sleeping pad with good insulation: A thicker pad increases comfort when you need to shim under hips or shoulders.
Leave No Trace and ethical considerations
When modifying ground or bringing rocks into your setup, follow Leave No Trace principles. Minimize landscape alteration, avoid damaging vegetation, and restore the site before you go. In protected areas, digging terraces may be prohibited—always check local regulations.
Quick troubleshooting guide
Problems sometimes happen even with careful setup. Here’s how to respond:
- Tent sliding downhill: Add deadman anchors, increase downhill stake tension, or relocate to a flatter spot if possible.
- Water pooling at the door: Reposition tent slightly upslope and clear a shallow drain channel to divert flow.
- Sleeping uncomfortably: Adjust pad placement, add clothing under pads, or rotate so head is uphill.
- Stakes pulling out: Use rock anchors or bury deadman anchors for better holding power.
Practice and drills
Before relying on slope-pitching in remote conditions, practice at home or during day hikes:
- Set up on gentle inclines to learn pad placement and anchoring techniques.
- Practice burying a deadman anchor and testing its hold.
- Time yourself packing and repitching—speed matters in bad weather.
Further reading and resources
Expand your knowledge with reputable sources:
- REI Guide to Campsite Selection — solid general principles for finding and setting up camp.
- NOLS (National Outdoor Leadership School) — skills and leadership for wilderness travel.
Summary and final checklist
Mastering how to pitch a tent on sloped terrain requires planning, the right gear and a few simple techniques. Use this quick checklist before you sleep:
- Choose the gentlest slope and check for runoff.
- Orient head uphill when possible.
- Level your sleeping platform with pads, gear or soil sparingly.
- Anchor downhill side thoroughly and use deadman or rock anchors in soft ground.
- Respect Leave No Trace and restore any modifications.
With practice, these methods will become second nature and let you camp safely and comfortably even when the terrain is less than perfect.