Organize documents and visas from the earliest planning stage to the day you board—this is the most reliable way to avoid delays, refused entry or fines. Whether you are a first-time tourist, an exchange student, a professional on assignment, or a backpacker, this guide gives a step-by-step system, practical checklists and trusted resources so you travel prepared.
Why organizing travel documents and visas matters
Proper documentation is more than bureaucracy. Well-organized documents speed up airport checks, prevent immigration problems and protect you in emergencies. Immigration officers, airlines and border control expect specific proofs—missing or expired documents can cause denied boarding or deportation. Planning ahead also reduces stress and helps you focus on the trip experience.
Core travel documents checklist
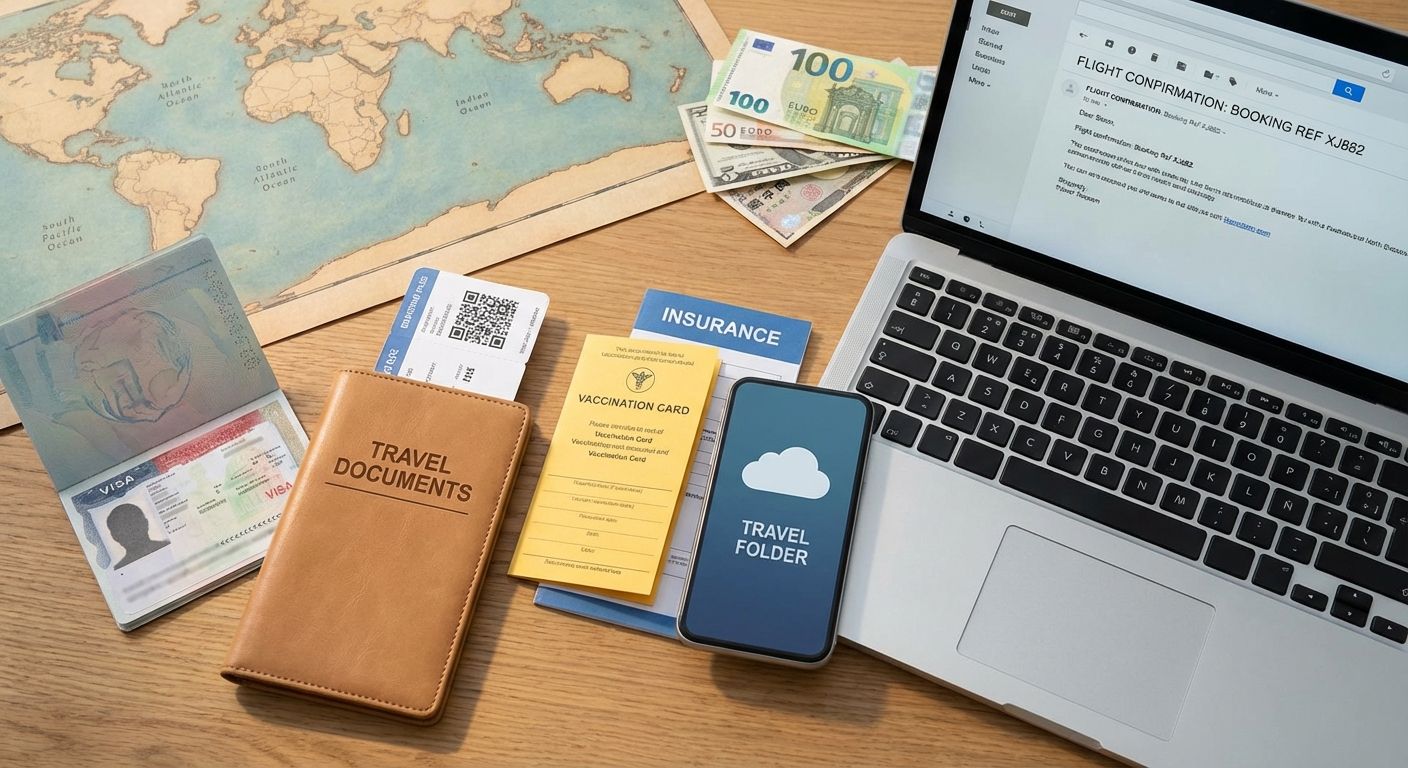
Keep these essentials together in both physical and digital forms:
- Valid passport (with required validity and blank pages)
- Required visas (tourist, work, student, transit)
- Flight and accommodation confirmations
- Travel insurance policy and emergency contacts
- Vaccination certificate (e.g., Yellow Fever) when required
- National ID or driver’s license (for domestic ID or car rental)
- Copies of important cards: credit cards, medical cards
- Emergency documents: power of attorney, medical directives (if applicable)
Timeline: When to prepare each document
6+ months before travel
- Check passport expiration date. Many countries require at least 6 months’ validity beyond your arrival date—renew if necessary.
- Research visa requirements using official sources such as IATA Travel Centre or your destination’s embassy website.
- Begin any required vaccine schedules (some vaccines need weeks to take effect).
3 months before travel
- Apply for visas that take several weeks (e.g., some consular visas).
- Purchase travel insurance and confirm coverage details.
- Request vacation or work permits needed for your job.
4–6 weeks before travel
- Scan and back up all important documents to the cloud and to an encrypted USB drive.
- Print physical copies and make at least two sets of paper copies (keep one in luggage, one with carry-on).
- Confirm any health-entry requirements such as negative tests or vaccination QR codes.
1 week to travel
- Assemble a travel document pack: passport, visas, boarding passes, hotel confirmations, insurance, local contact info and emergency numbers.
- Store copies separately from originals and share emergency contact copies with a trusted person at home.
- Check airline and transit visa rules: some stopovers require transit visas.
Passport: key rules and best practices
Passport validity and blank pages are frequent causes of travel denial. Common requirements include:
- Validity: Many countries require 6 months beyond your return date; some require 3 months. Always verify for each destination.
- Blank pages: Airlines and immigration may require one or more blank pages for entry/exit stamps.
- Damaged passports: Torn covers, missing pages or water damage can make a passport invalid. Renew if the passport shows wear.
Check your country’s passport agency website for expedited renewal options. For U.S. travelers, see travel.state.gov. For UK travelers, consult gov.uk.
Visas: types, how to check, and application tips
Visas vary widely by nationality and destination. The main categories include tourist (short-stay), work, student, transit and diplomatic. Steps to manage visa requirements:
How to check visa requirements
- Use official embassy/consulate websites and the IATA Travel Centre for up-to-date rules.
- Confirm if an e-Visa or visa-on-arrival is available for your nationality.
- Check transit rules if you have layovers—transit visas are required for some nationalities.
Applying for a visa
- Prepare required documents: passport copy, photos, proof of funds, itinerary, invitation letters or acceptance letters (students/work).
- Follow form instructions carefully—errors delay processing.
- Pay attention to biometric appointment schedules and embassy processing times.
- Keep receipts and official correspondence; bring printed approval letters when you travel.
Health and vaccination documents
Some destinations require vaccination proof. Steps to stay compliant:
- Consult the World Health Organization (WHO) or your national public health site about required vaccines such as Yellow Fever.
- Check COVID-19 entry rules for testing or vaccination certificates; store digital and printed versions of vaccine cards or QR codes.
- Bring a basic medical summary if you have chronic conditions, including prescriptions and generic medication names.
Digital organization: secure backups and quick access
Digital copies reduce risk: if originals are lost or stolen they can be replaced faster. Best practices:
- Scan passport identity page, visa pages and entry stamps; save as high-quality PDFs.
- Use cloud storage (Google Drive, Dropbox) and keep files in a dedicated folder with clear filenames (e.g., passport_firstname.pdf).
- Store an encrypted copy on a password manager or encrypted USB. Use two-factor authentication for accounts.
- Keep screenshots of digital visas, boarding passes and vaccine QR codes in your phone’s secure folder.
Physical organization: travel wallets and document packs
Organize physical documents to minimize handling time at borders:
- Use a slim travel document wallet with labeled slots for passport, boarding pass, visas and insurance card.
- Keep one folder of photocopies separate from originals in case of theft; leave another copy with a trusted contact at home.
- Place emergency cash, credit card backup and a local SIM voucher in the same folder for rapid access.
At the border: how to present documents
At immigration counters and airline check-in, present documents in the expected order to make checks faster:
- Passport open to photo page
- Visa or e-visa approval (printed or accessible on phone)
- Return or onward ticket
- Proof of accommodation and funds if requested
- Vaccination certificate or test when required
Answer questions truthfully and succinctly. Keep documents handy—removing them from a wallet and showing them quickly reduces delays.
Specific tips for different traveler types
Exchange students and long-term stays
- Keep acceptance letters, proof of enrollment, and sponsor documents in a dedicated folder.
- Register with your embassy for on-ground assistance and follow student visa renewals.
Professionals and business travelers
- Carry invitation letters, work permits and employer contact information. Consider a letter from HR explaining the purpose and duration of the visit.
- Check whether a business visa or special permit is required for meetings and short-term projects.
Backpackers and multi-stop itineraries
- Plan for multiple visa rules across borders and for longer transit times when applying.
- Keep lightweight laminated copies of essential documents and a portable travel wallet for quick access.
Common problems and how to avoid them
- Expired passport: Check early and renew with expedited options if needed.
- Incorrect visa type: Verify the purpose of your trip and apply for the matching visa class.
- Missing vaccination proof: Schedule vaccinations early and obtain official certificates.
- Lost documents: Report theft to local police, contact your embassy, and use digital backups for replacements.
Useful external resources
- IATA Travel Centre: https://www.iatatravelcentre.com
- U.S. Department of State travel info: https://travel.state.gov
- World Health Organization: https://www.who.int
Printable master checklist (quick reference)
- Passport: validity checked and copy saved
- Visa(s): approved or application submitted
- Vaccination card / health certificates
- Travel insurance: policy number and emergency contacts
- Flight & accommodation confirmations
- Emergency contacts list & copies left with someone at home
- Digital backups in encrypted cloud and offline drive
Final recommendations
Organize documents and visas methodically using the timeline and checklists in this guide. Make copies, use secure cloud storage, and keep a clear travel wallet at hand. Verify all entry requirements directly with official embassy resources shortly before you depart. Small preparations save time, money and avoid the stress of immigration issues.